
Rerplacing the FEP-Film on DLP/LCD Style resin based 3d Printers is a daunting task for those unexperienced. sometimes the FEP-Film can get tiny holes that are not visibly . They can even be watertight, as the adhesion forces of water are strong enough to keep the water from flowing through that tiny hole, but over time Rsin can leak out of the Vat and cure right onto the LCD Panel, which results in failed Prints and may even damage your 3d Printer.
I use the Anycubic Photon as an example.
How to spot even the tiniest hole?
Clean the vat as good as you can. Fill it with Isopropanol (IPA) that you should always keep around to wash your prints. IPA is able to flow through even the tiniest gaps that water could not pass.
Place the filled Vat on a dry paper towel.
Now closely watch the paper under the vat as one or more wet spots may occur. These are the proof for holes in the FEP shield!
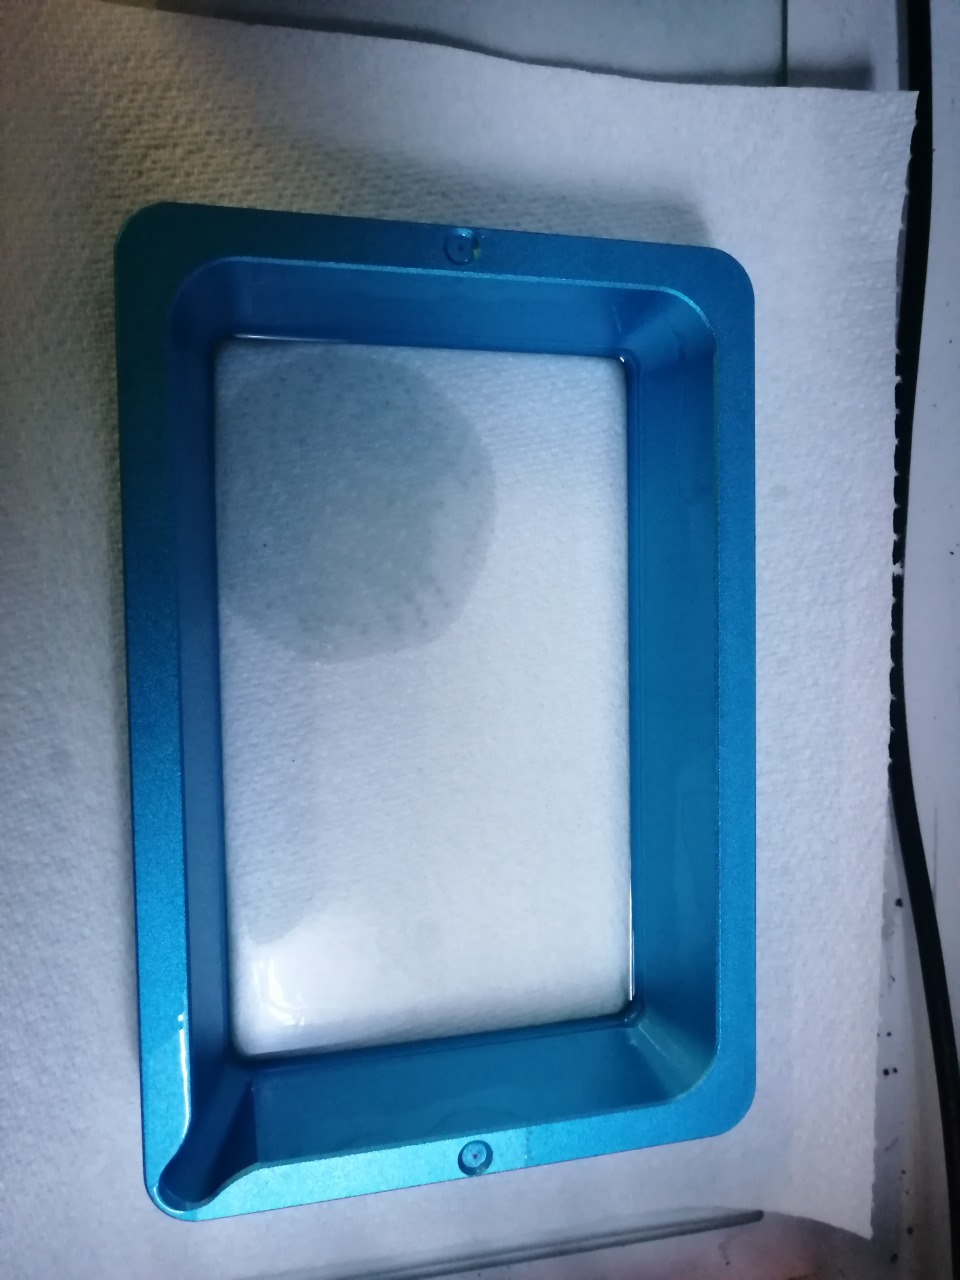
Drain the Vat and place it upside down.
you can now remove the 8 big screws.
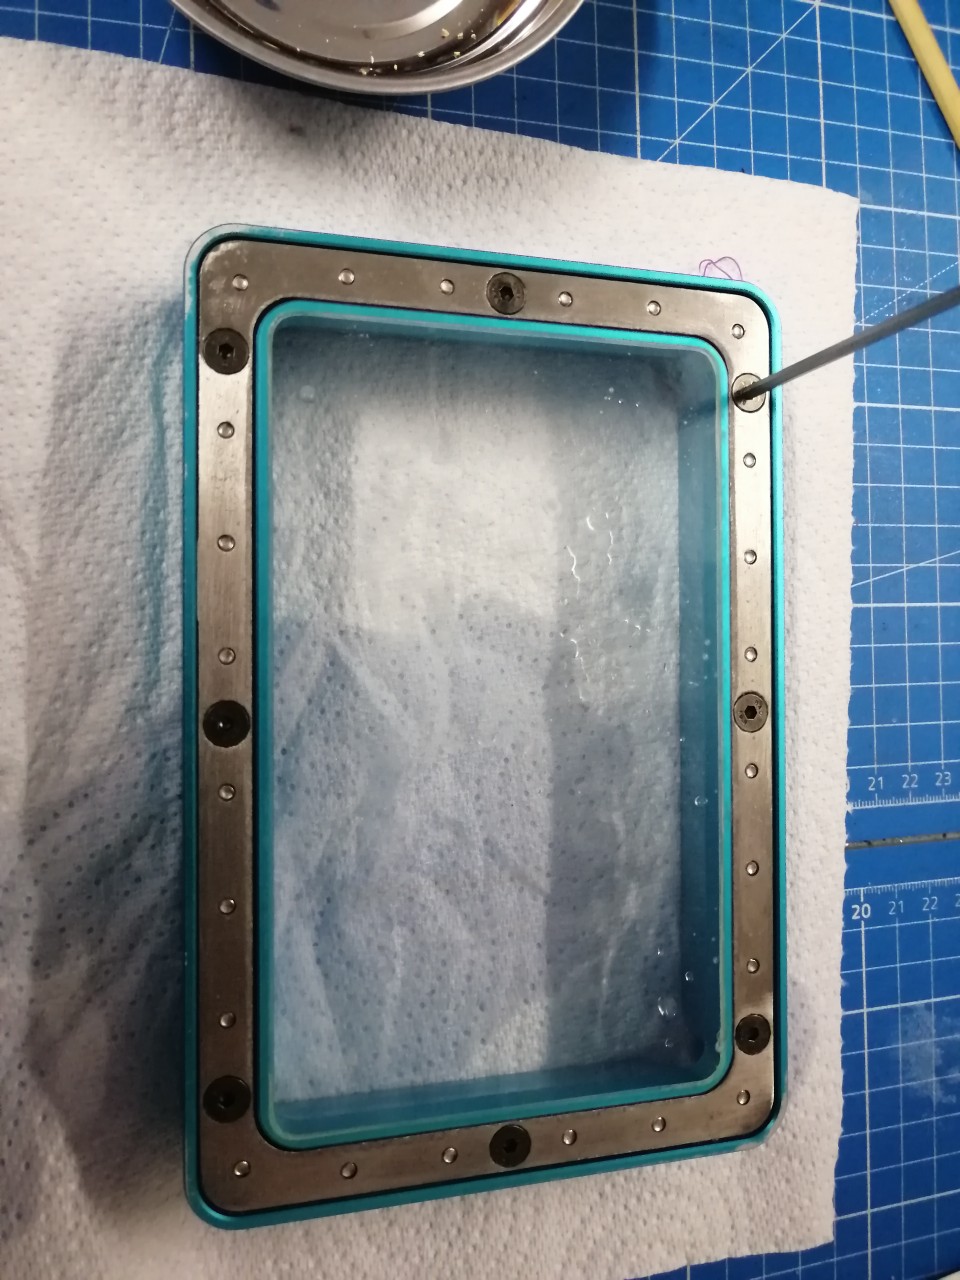
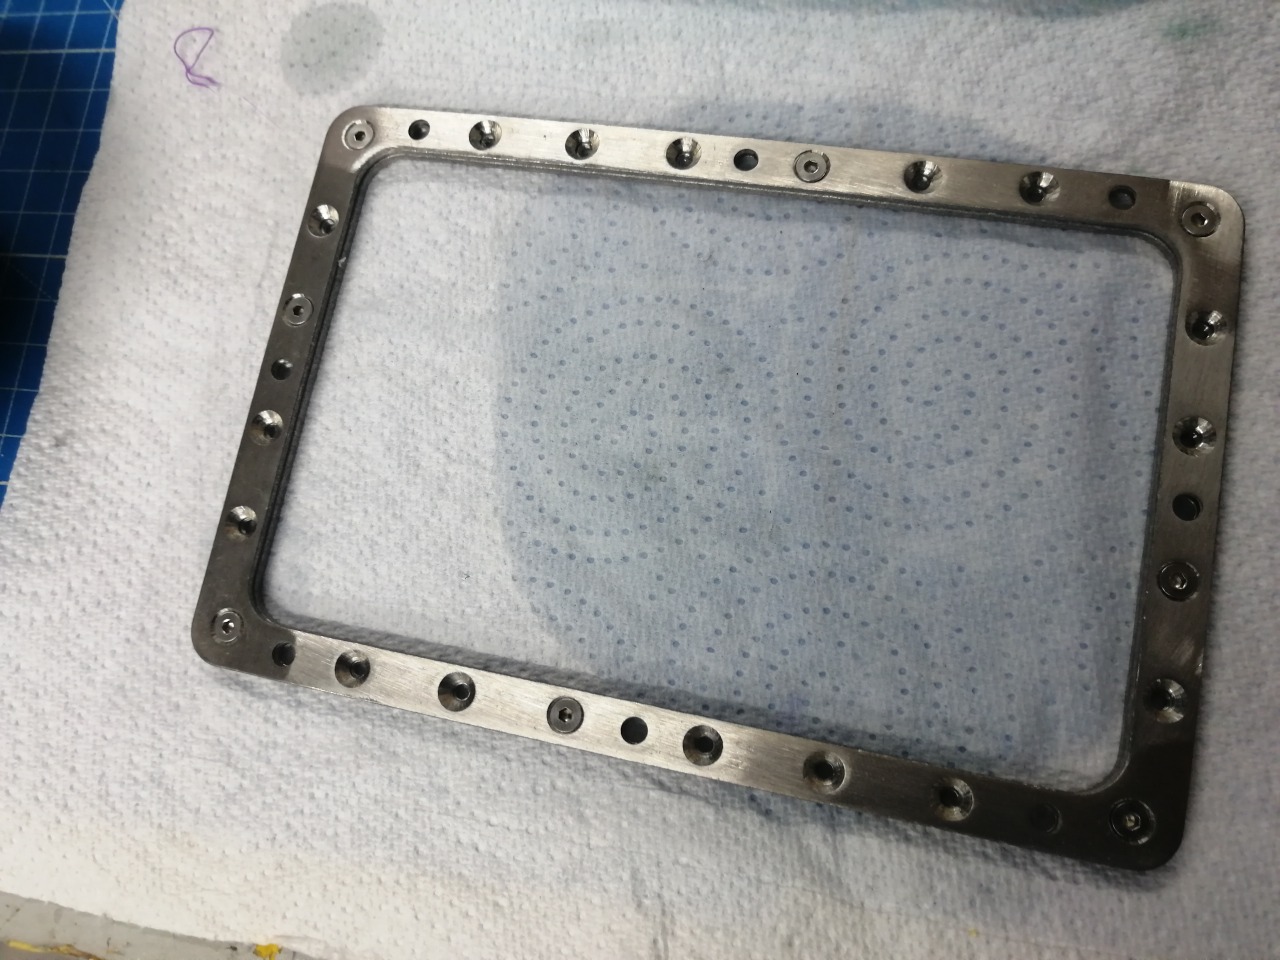
Remove the Frame from the Vat and remove the other 24 screws.
you should now be able to remove the damaged FEP Film and replace it with a new sheet.
Sandwich the new Film between the Frame pieces and secure it with the Screws.
Always use a cross pattern to make sure the tension is even. You may have to push slightly to forcet the screws through the FEP film.
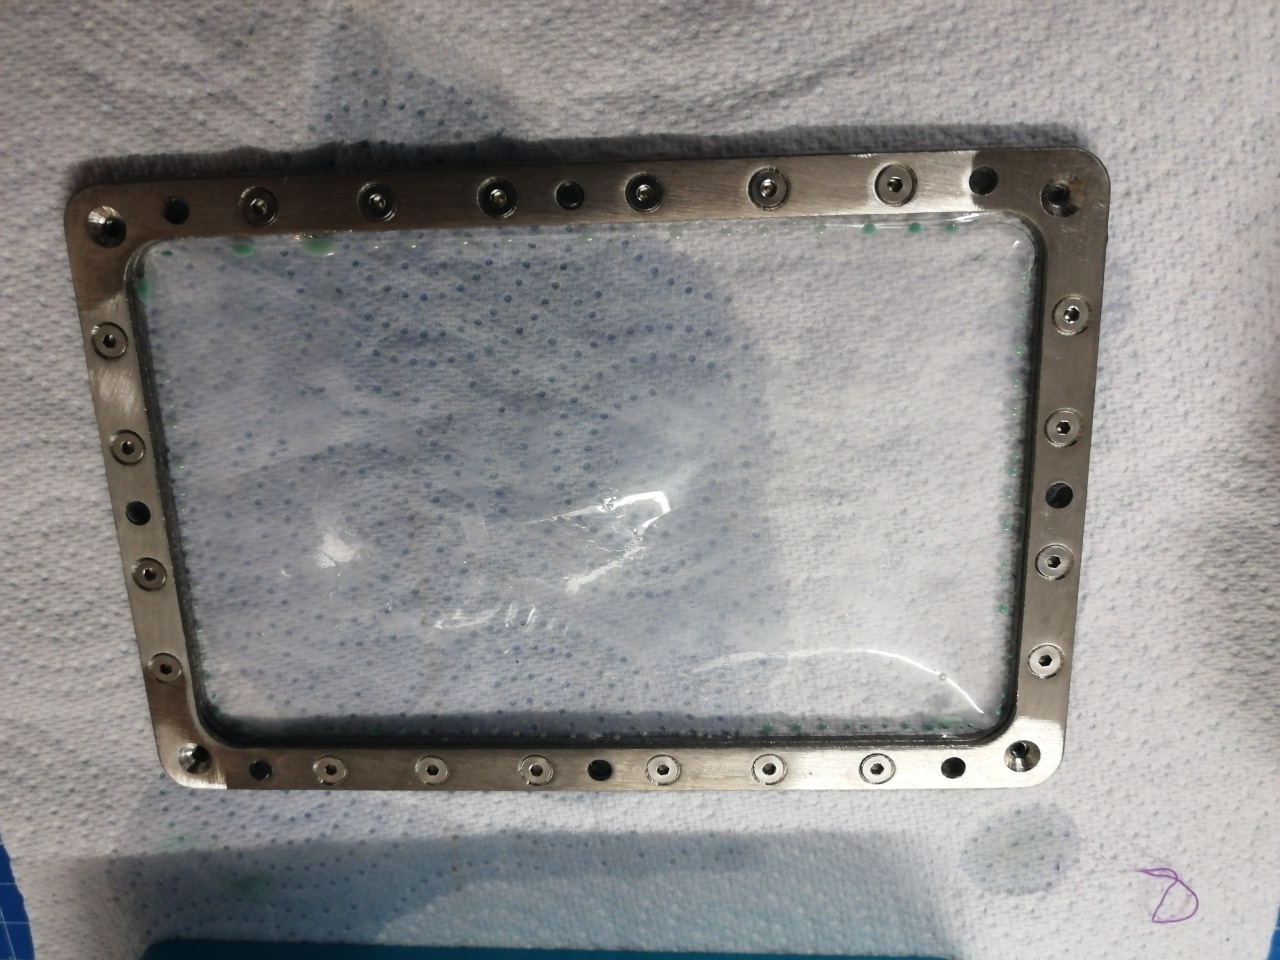
Same goes for the 8 bigger screws.
Now we have to tighten does up in a cross pattern as well.
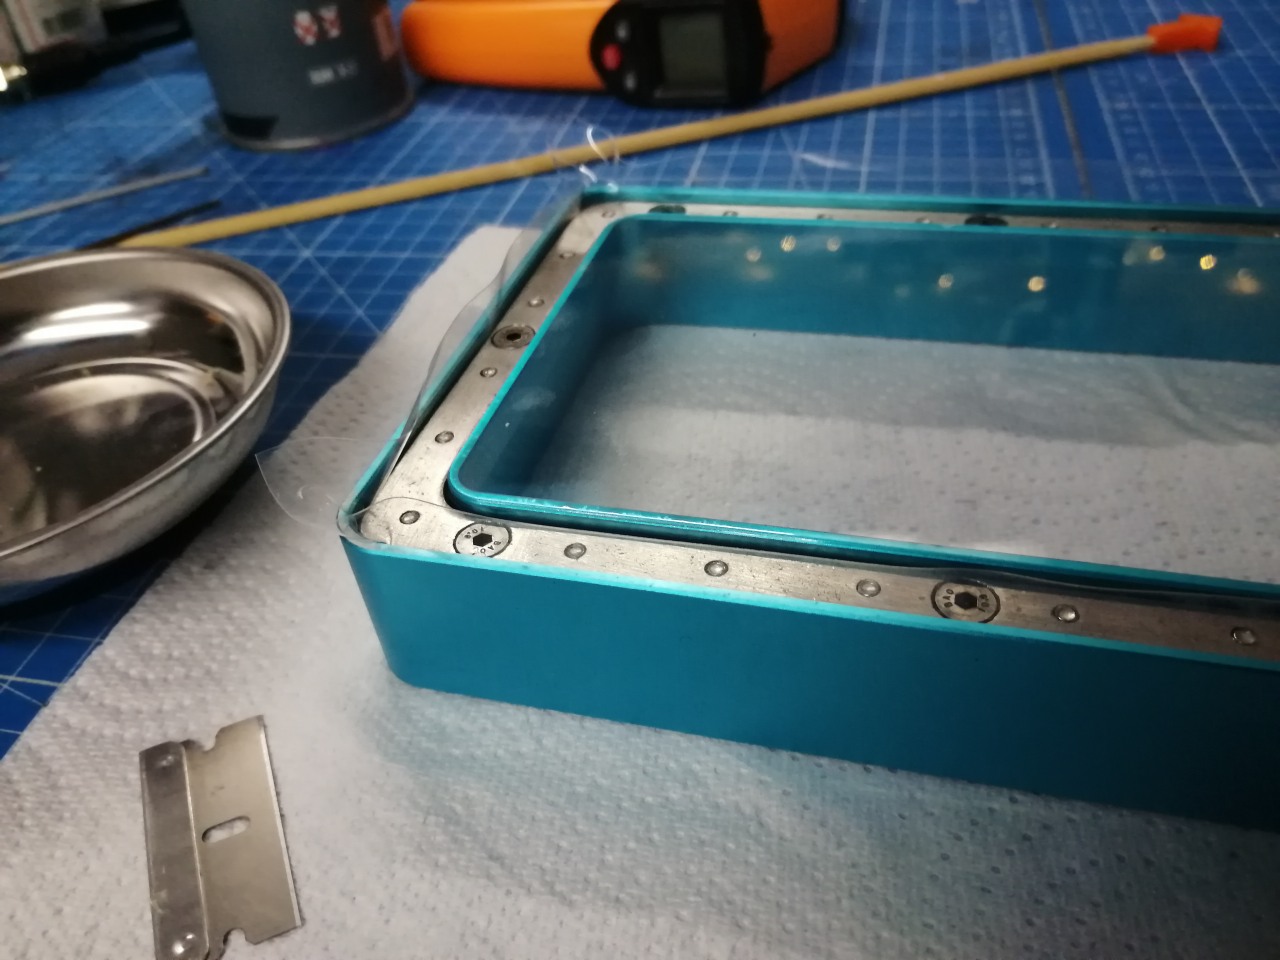
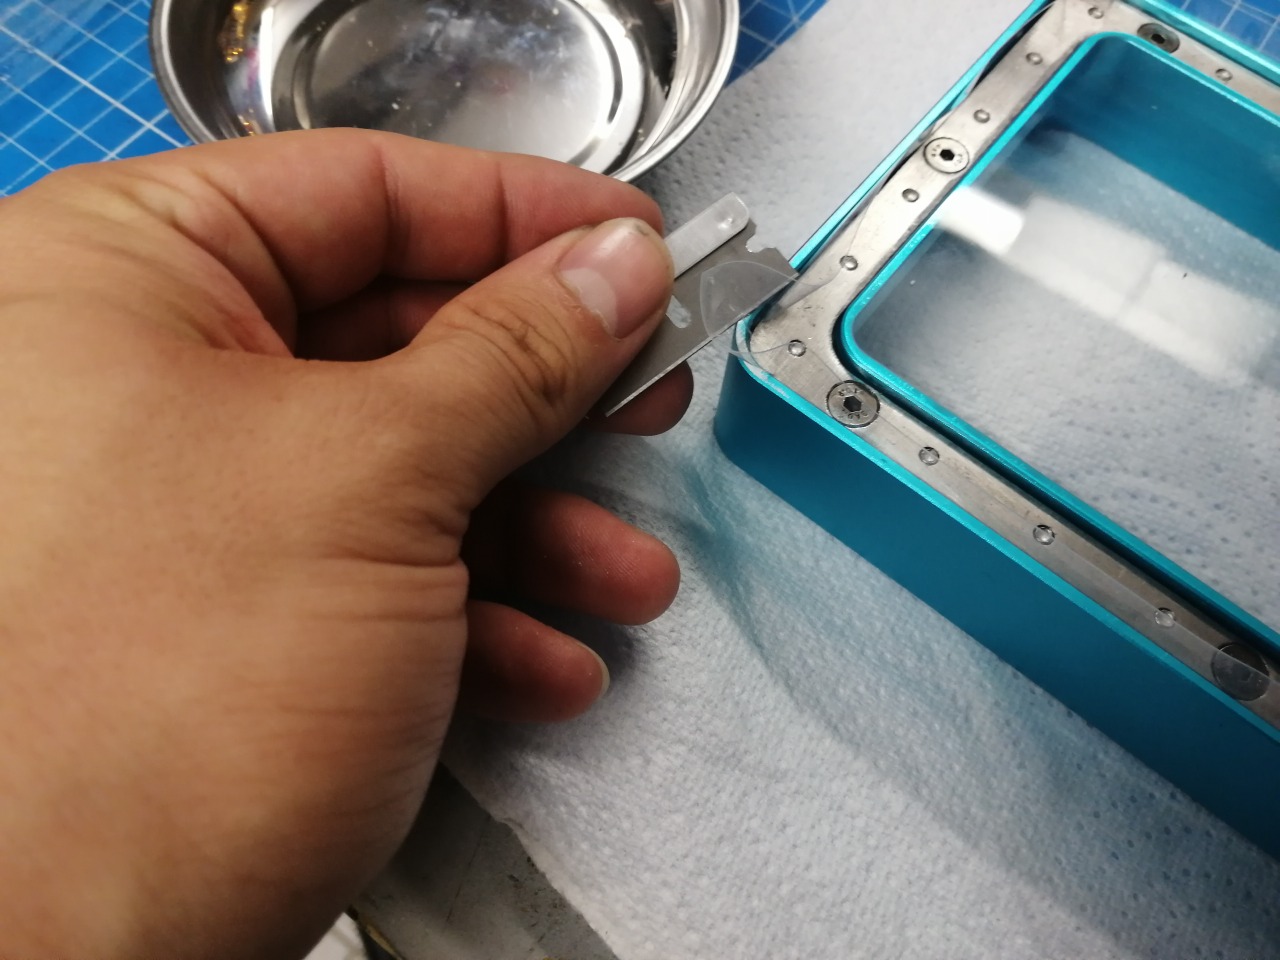
The Edge of the FEP Film has to be trimmed down with a razorblade! Be very carefull, you could accidently hurt yourself or damage the new FEP-Film.

Congratulations! Your Vat is ready to be filled again!
Take care with your new 3d printer Resin vat and make sure to level your printer again before the next print!
Happy 3d printing!